There is a particular kind of silence that follows a dead battery. The starter clicks once, the dashboard fades, and even a beautifully kept performance car suddenly feels like a sculpture instead of a machine. Knowing the jump start positive and negative cables order turns that frustrating moment into a controlled repair. The sequence is simple, but the details matter: one careless clamp can create a spark, damage electronics, or injure the person holding the cable.
I have seen this happen in everything from an aging Alfa Spider to a nearly new luxury SUV. A flat battery does not care about a car's badge, price, or concours history. Before connecting anything, park the assisting vehicle close enough for the cables to reach without touching the cars. Both vehicles should be in Park or Neutral with the parking brakes engaged, and every ignition, light, audio system, and accessory should be switched off.
Why Cable Order Matters
The jump start positive and negative cables order is designed to reduce the chance of sparks near the discharged battery. A standard set has a red cable for positive connections and a black cable for negative or ground connections. Red is not merely a color convention; it helps prevent reversing polarity, which can blow fuses and damage sensitive control modules.
Inspect both batteries before proceeding. Do not attempt a jump if a battery case is cracked, leaking, badly swollen, or frozen. Lead-acid batteries can release hydrogen gas, and a spark near the vents can ignite it. Keep cigarettes, shop lights with damaged cords, and open flames away from the work area. Remove metal jewelry if possible, and never let the red and black clamps touch each other while either cable is connected.
A donor vehicle should have a battery with the same general voltage, normally 12 volts for ordinary cars and trucks. Do not use a running vehicle to jump a car with a visibly damaged electrical system. If the dead car is a hybrid, an exotic with a lithium auxiliary battery, or a model with manufacturer-specific instructions, use the owner's manual or a qualified roadside technician.
The Correct Connection Sequence
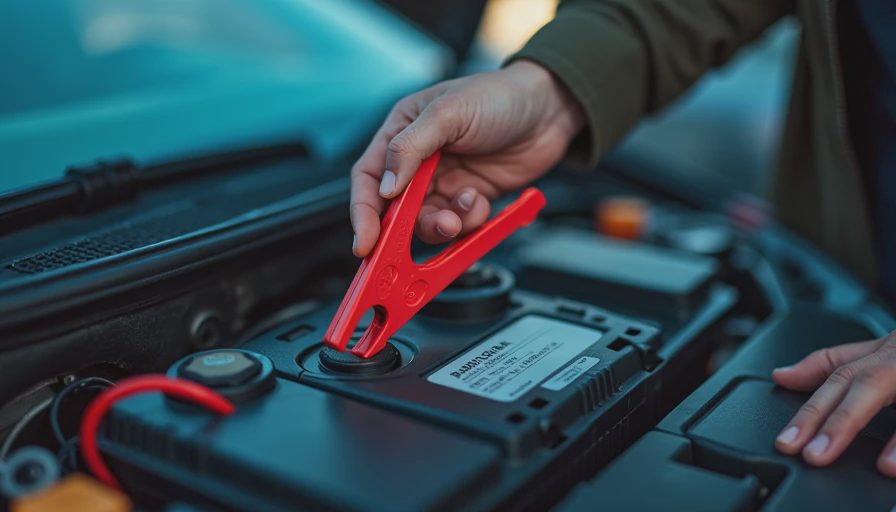
The practical jump start positive and negative cables order begins with the dead vehicle's positive terminal. Connect one red clamp to the positive terminal marked with a plus sign. Make sure the clamp bites firmly onto clean metal rather than resting loosely on corrosion or a plastic cover.
Connect the other red clamp to the positive terminal on the donor battery. Next, attach one black clamp to the donor battery's negative terminal. The final black clamp should usually go to an unpainted, solid metal grounding point on the disabled vehicle's engine block or chassis, away from the battery. Many factory manuals specify a dedicated ground stud. Use it when provided.
That final ground connection is intentional. Connecting away from the dead battery can place any small spark farther from battery gases. Do not clamp onto a painted bracket, a thin sheet-metal panel, a fuel line, or a moving part such as a belt. If the cables are short, reposition the vehicles rather than stretching the clamps over hot engine components.
Once connected, start the donor vehicle and let it run for two to five minutes at a normal idle. Do not race the engine; a dramatic burst of throttle adds risk without being a substitute for sound electrical contact. Try starting the disabled car. Crank for no more than about 10 seconds, then pause briefly to protect the starter and cables. If the engine does not respond after a couple of attempts, stop and diagnose the problem instead of repeatedly forcing the issue.
Removing Cables Without Creating Trouble
Removal follows the jump start positive and negative cables order in reverse, but the safest version is slightly more specific. First remove the black clamp from the revived car's engine ground. Then remove the black clamp from the donor battery's negative terminal. Remove the red clamp from the donor battery next, followed by the red clamp from the revived vehicle's positive terminal.
Keep the clamps separated throughout removal. Do not drape them across a fender, radiator support, or painted hood where they can slide together. After the cables are off, allow the revived vehicle to run or drive for at least 20 to 30 minutes so the alternator can restore some charge. A short trip around the block is not always enough, particularly when the battery is several years old or the weather is cold.
Driving is not a guaranteed battery recharge. An alternator maintains a healthy battery; it is not designed to quickly recover a deeply discharged or failing one. If the car stalls again, the battery may be worn out, the alternator may not be charging, or a light or accessory may have drained it. A parts store or repair shop can usually test battery and charging voltage quickly.
Common Mistakes Enthusiasts Still Make
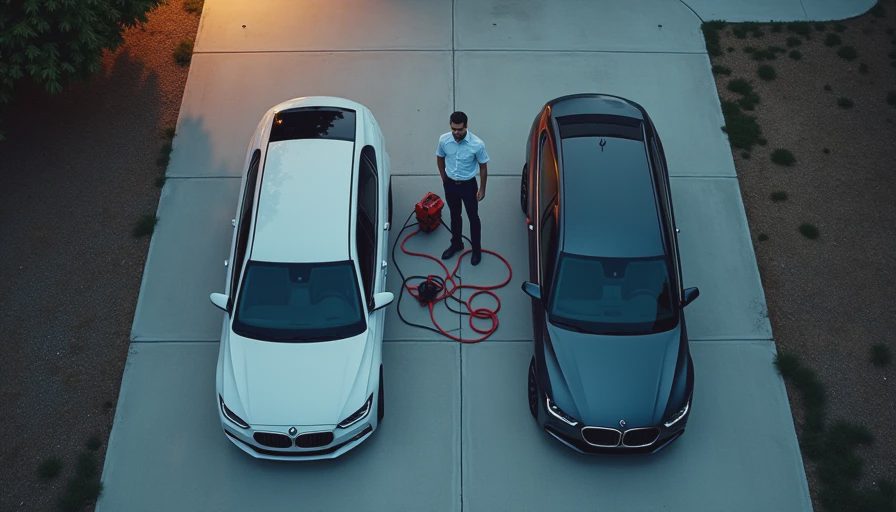
Confusion about the jump start positive and negative cables order often comes from memorizing colors without understanding polarity. The positive post is marked plus, and the negative post is marked minus. On many modern cars, the battery is hidden under a cover or in the trunk, while remote terminals sit under the hood. Use the marked remote points rather than guessing from cable length.
Another mistake is assuming a bigger donor vehicle solves every problem. A large pickup can supply useful starting power, but it cannot overcome a loose connection, corroded terminal, seized engine, or failed starter. Nor should a driver connect a 12-volt car to heavy equipment using improvised cables. Proper gauge matters: thin bargain cables can become hot, while quality cables with insulated clamps provide a better margin of safety.
Do not jump a car in standing water, and do not work beneath a hood in traffic without warning lights and a safe shoulder. If the disabled vehicle is in a dangerous location, roadside assistance is the right choice. Many auto insurance policies offer towing or battery-jump service through roadside assistance, although limits and service fees depend on the policy.
A Better Emergency Routine
The jump start positive and negative cables order is easier to follow when the tools are ready before trouble arrives. Keep a decent set of cables, work gloves, a flashlight, and safety glasses in the trunk. A compact lithium jump pack is another useful option, especially for a collector car that sits between drives. Store it charged, inspect its clamps, and follow its polarity markings exactly.
Before leaving a show, track day, or weekend drive, look for dim headlights, slow cranking, or a battery that is more than three to five years old. Those are warnings, not character traits. A battery tender can help a stored vehicle, but it cannot repair an aging battery or a parasitic electrical drain.
Heritage Note: Older cars make the lesson especially visible because their wiring is often simpler and their battery locations are obvious. Modern performance cars hide more electronics behind polished surfaces, yet the underlying rule has not changed. Positive first, donor positive next, donor negative, then a solid ground on the disabled car; remove everything in reverse.
Every car has a story. Here's this one: knowing the jump start positive and negative cables order protects the story from ending beside a parking-lot curb. Work slowly, verify every symbol, and stop when the battery or wiring looks damaged. A calm five-minute inspection is far cheaper than replacing a control module, and it gets the machine back to the road with its dignity intact.